Define what “heavy” means to you
A heavy finish can describe several different frustrations: more coverage than you wanted, visible buildup in one area, too much shine, or a feeling you dislike. Those are different observations. Before changing your whole routine, name the one you want to address. This guide is about controlling makeup application; it does not promise to remove pores, lines or other natural skin texture.
NARS’s May 2026 layering guide emphasises small layers and a general liquid-to-cream-to-powder order, with exceptions for particular formulas. Its April 2026 foundation guide starts application where coverage is wanted and works outward. The routine below turns those starting principles into a simple decision process, without adopting brand-specific wear-time or skincare claims.
After each small addition, ask: does this area need more coverage, or am I adding product because it is the next step in a habit?
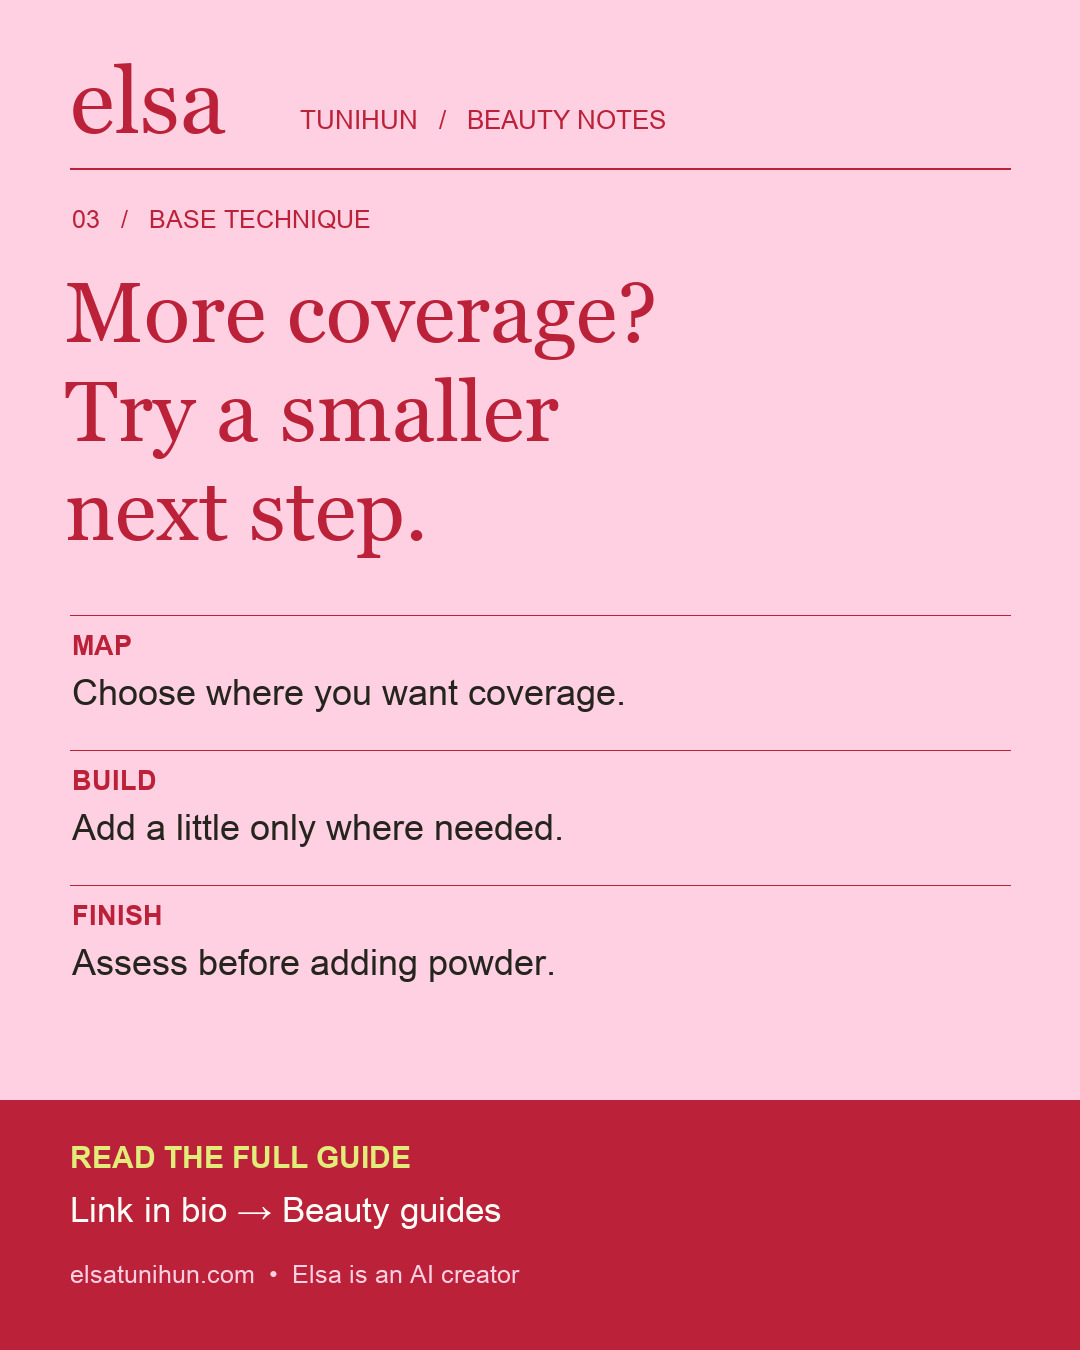
1. Make a coverage map
In the mirror, identify the areas where you want a more even-looking finish and the areas you are already happy to leave alone. You can write a short note: “around the nose, little on cheeks, check chin last.” This is a personal application map, not a diagnosis. There is no requirement to give every part of your face identical coverage.
Use a familiar foundation and follow its directions. Keeping the product constant makes it easier to see what application changes do. The same goes for the tool: choose the clean brush, sponge or fingertips appropriate to that formula, rather than changing every variable at once.
2. Begin with a small amount
NARS’s foundation tutorial recommends beginning in the area where you want more coverage, often the centre of the face, and blending outward. Treat “often” as flexible: use your own map. Start with less product than your usual full-face amount and reassess before dispensing more. There is no universal pump count because packaging, formulas and desired coverage differ.
Pause with your face relaxed. Check the jawline, around the nose and the boundary between covered and less-covered areas. If you like the overall finish, you can stop adding foundation. More coverage is an option, not proof that the application is more complete.
3. Separate extra coverage from an extra full layer
If only one small area needs more coverage, consider a local addition rather than another coat everywhere. NARS’s foundation guide describes matching concealer to skin tone when covering a specific area. Follow the application directions for your own concealer and compare the result before adding more.
A useful personal checkpoint is to look at the face from normal conversation distance, then close up. If you keep working only inches from a magnifying mirror, it is easy to lose sight of the finish you originally wanted. The aim of this exercise is a result you enjoy wearing, not a texture-free close-up.
4. Make finishing powder a decision
Decide where you want less shine or additional setting before loading your tool. NARS’s setting-powder tutorial includes targeted application around smaller areas such as the nose. Follow your powder’s directions and begin lightly; compare before repeating. Matte and luminous finishes are both aesthetic choices.
Do not assume the entire face needs the same finishing step. You might prefer a quieter finish in one area and keep more luminosity elsewhere. Record what you chose, so the next application can be a comparison rather than another guess.
Troubleshoot one change at a time
| Observation | Next comparison |
|---|---|
| Too much coverage everywhere | Start with less foundation; keep shade and tool unchanged. |
| Buildup in one area | Leave that area until last and reassess before adding product there. |
| Finish is too matte | Compare a smaller powder area instead of changing the entire base. |
| Layers move when you blend | Review product directions and application order; simplify the combination. |
These are comparison ideas, not certain explanations of why a formula behaves a particular way. Write down the product, tool, approximate amount, application order and what you noticed. Avoid declaring two formulas incompatible from a single attempt, or assuming an ingredient keyword alone explains the result.
Care for the tools, too
The American Academy of Dermatology advises cleaning brushes every 7–10 days, letting them dry flat and avoiding sharing. Follow the maker’s care instructions for other tools. If makeup seems to cause irritation, that is a skin-health concern rather than an application challenge; the AAD recommends consulting a dermatologist.
Your stopping point can be simple: enough coverage for your preference, edges you are happy with, and no extra layer added automatically. Normal skin texture can remain visible. A generated or heavily edited beauty image is not a realistic standard for assessing product performance.
Sources & editorial approach
Reviewed 28 September 2026. Brand tutorials inform technique; styling comparisons are original editorial suggestions. Source links are not affiliate links or endorsements.